
BBC Radio Leeds - How to make a seasonal hanging light
originally published on 16 November 2020

It's been an exciting 5 months since we started the PET shop project (and our YouTube workshops) and recently we have been exploring different ways on how to get crafty with plastic ready for the dark nights closing in
On Thursday, Rachel joined Gayle Lofthouse' Up for Arts session on BBC Radio Leeds, talking Gayle through a step by step on how to make your very own hanging light.
If you missed it, check out the link and get involved with the madness using the process below.
Exercise: 1 bottle, 1 technique, 2 lights in 10 mins
All you need is:
1 bottle from the recycling
Scissors, 1 small and pointy, and 1 large
Hole punch
Split pins
Favourite colour thread/yarn
Pen
LED light string
(We prefer to use rechargeable USB cork lights for the best effect)
To prepare:

Put any bottles with labels into hot water to take the label away or adhesive residue, this can be better applied by scrubbing away or if it is easier, use a non-acetone nail polish remover to buff the plastic up.
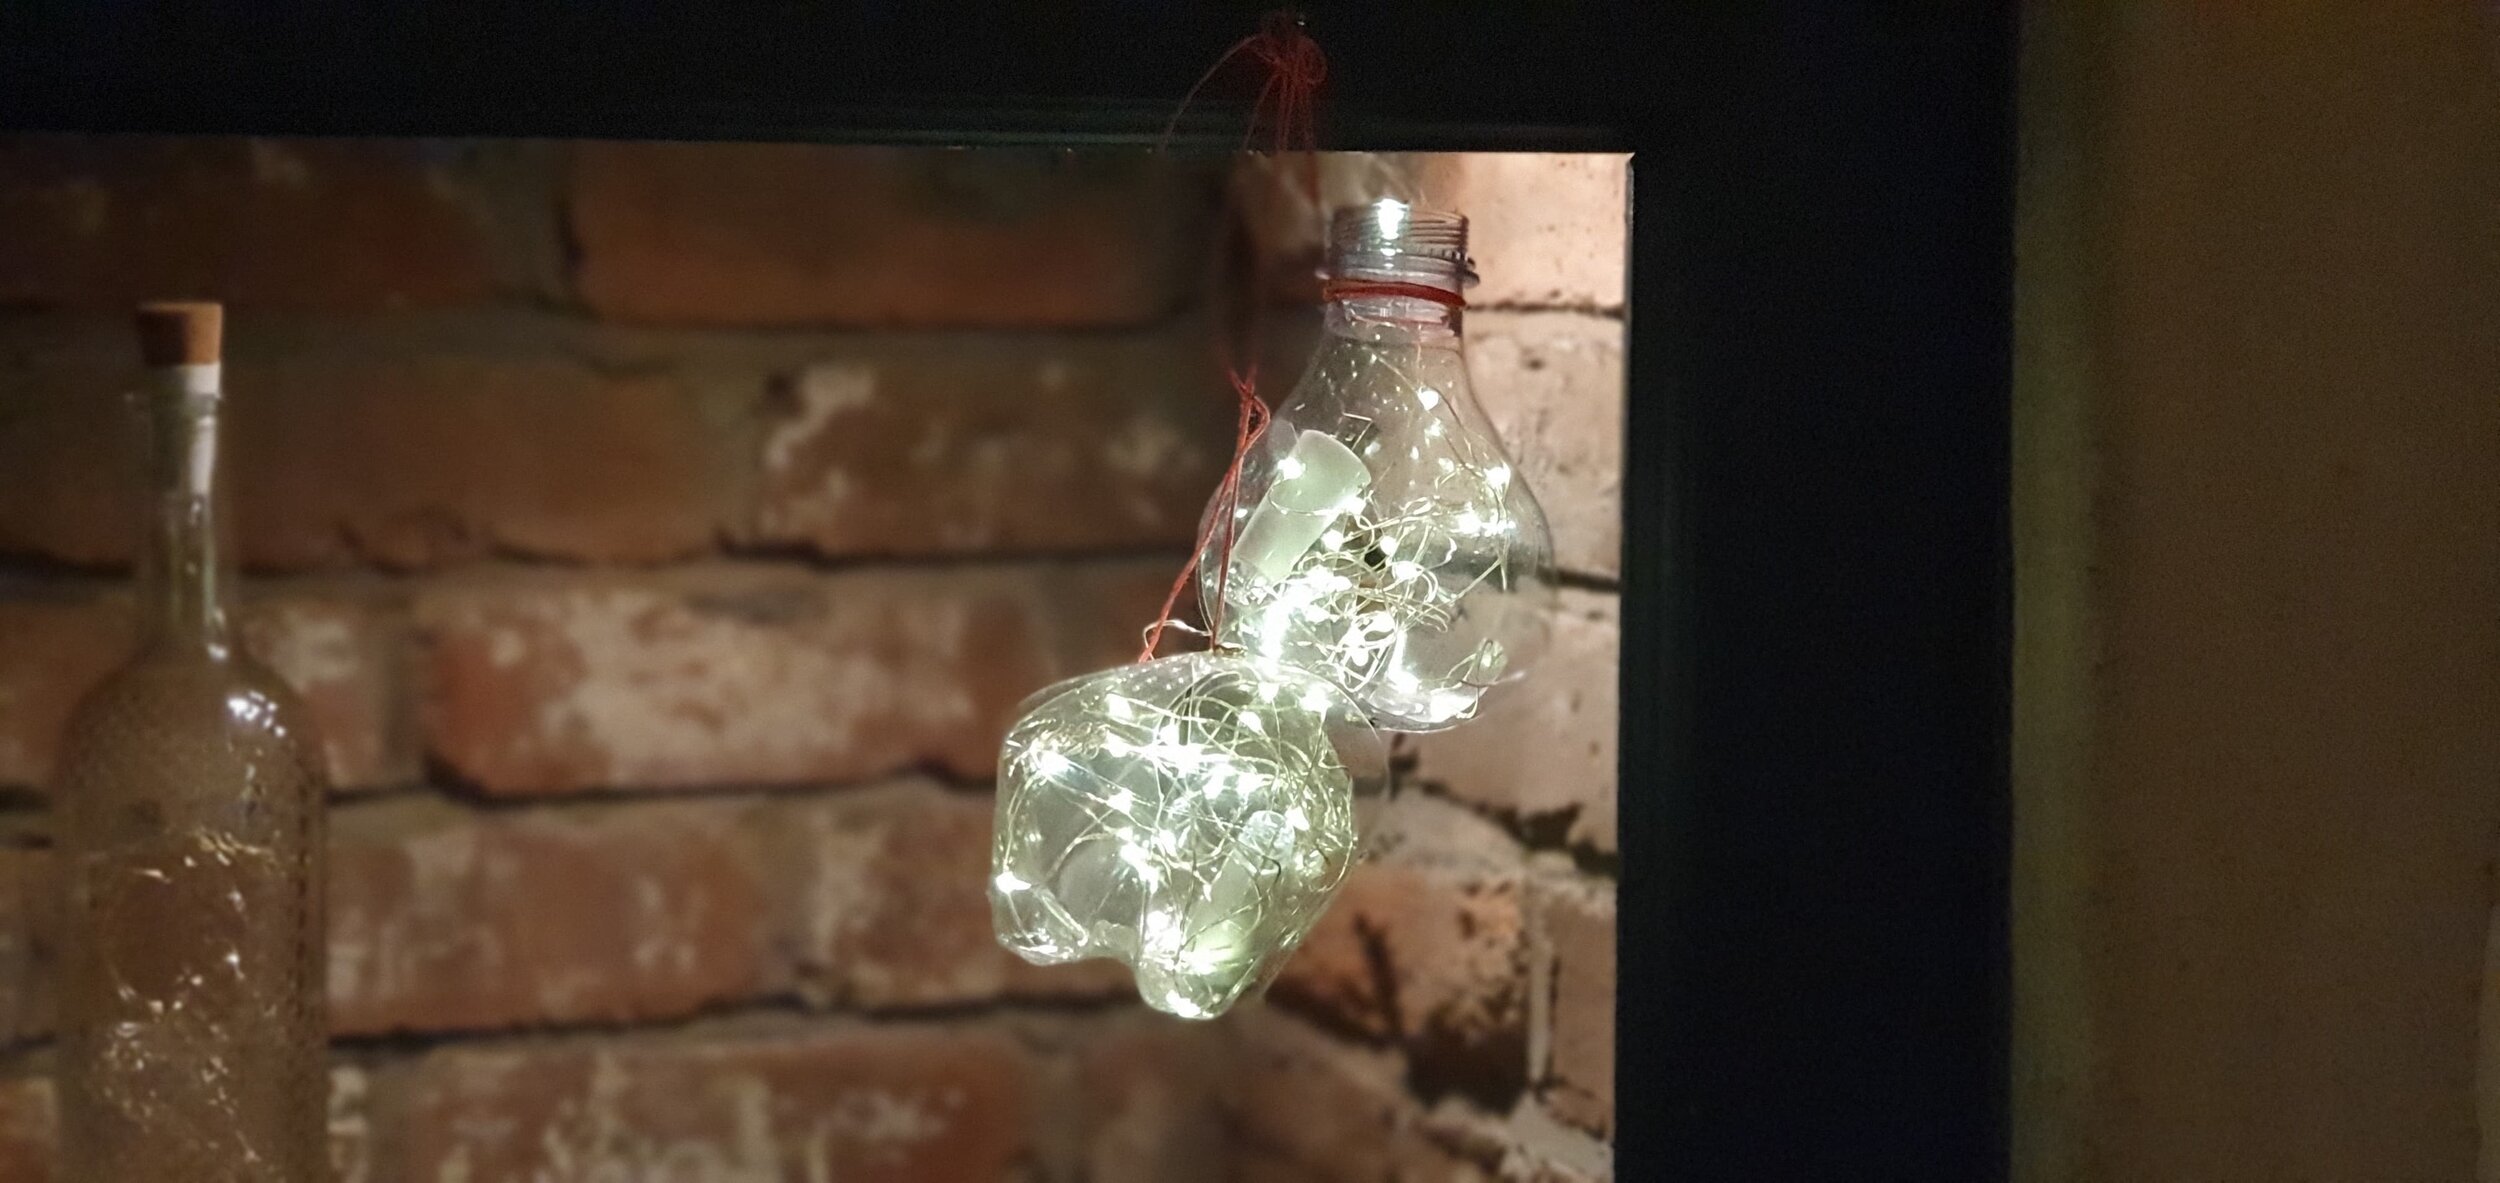
1st Base light:

Start by looking at the textures of the bottle. Gauge where the middle is between the top and bottom.
Get your small scissors and pierce through and cut the bottle in half at the mid point.
You will have two halves- (a) bottle neck and (b) a base.
Get your bigger scissors.
Cut around again to make sure there are no jagged edges.

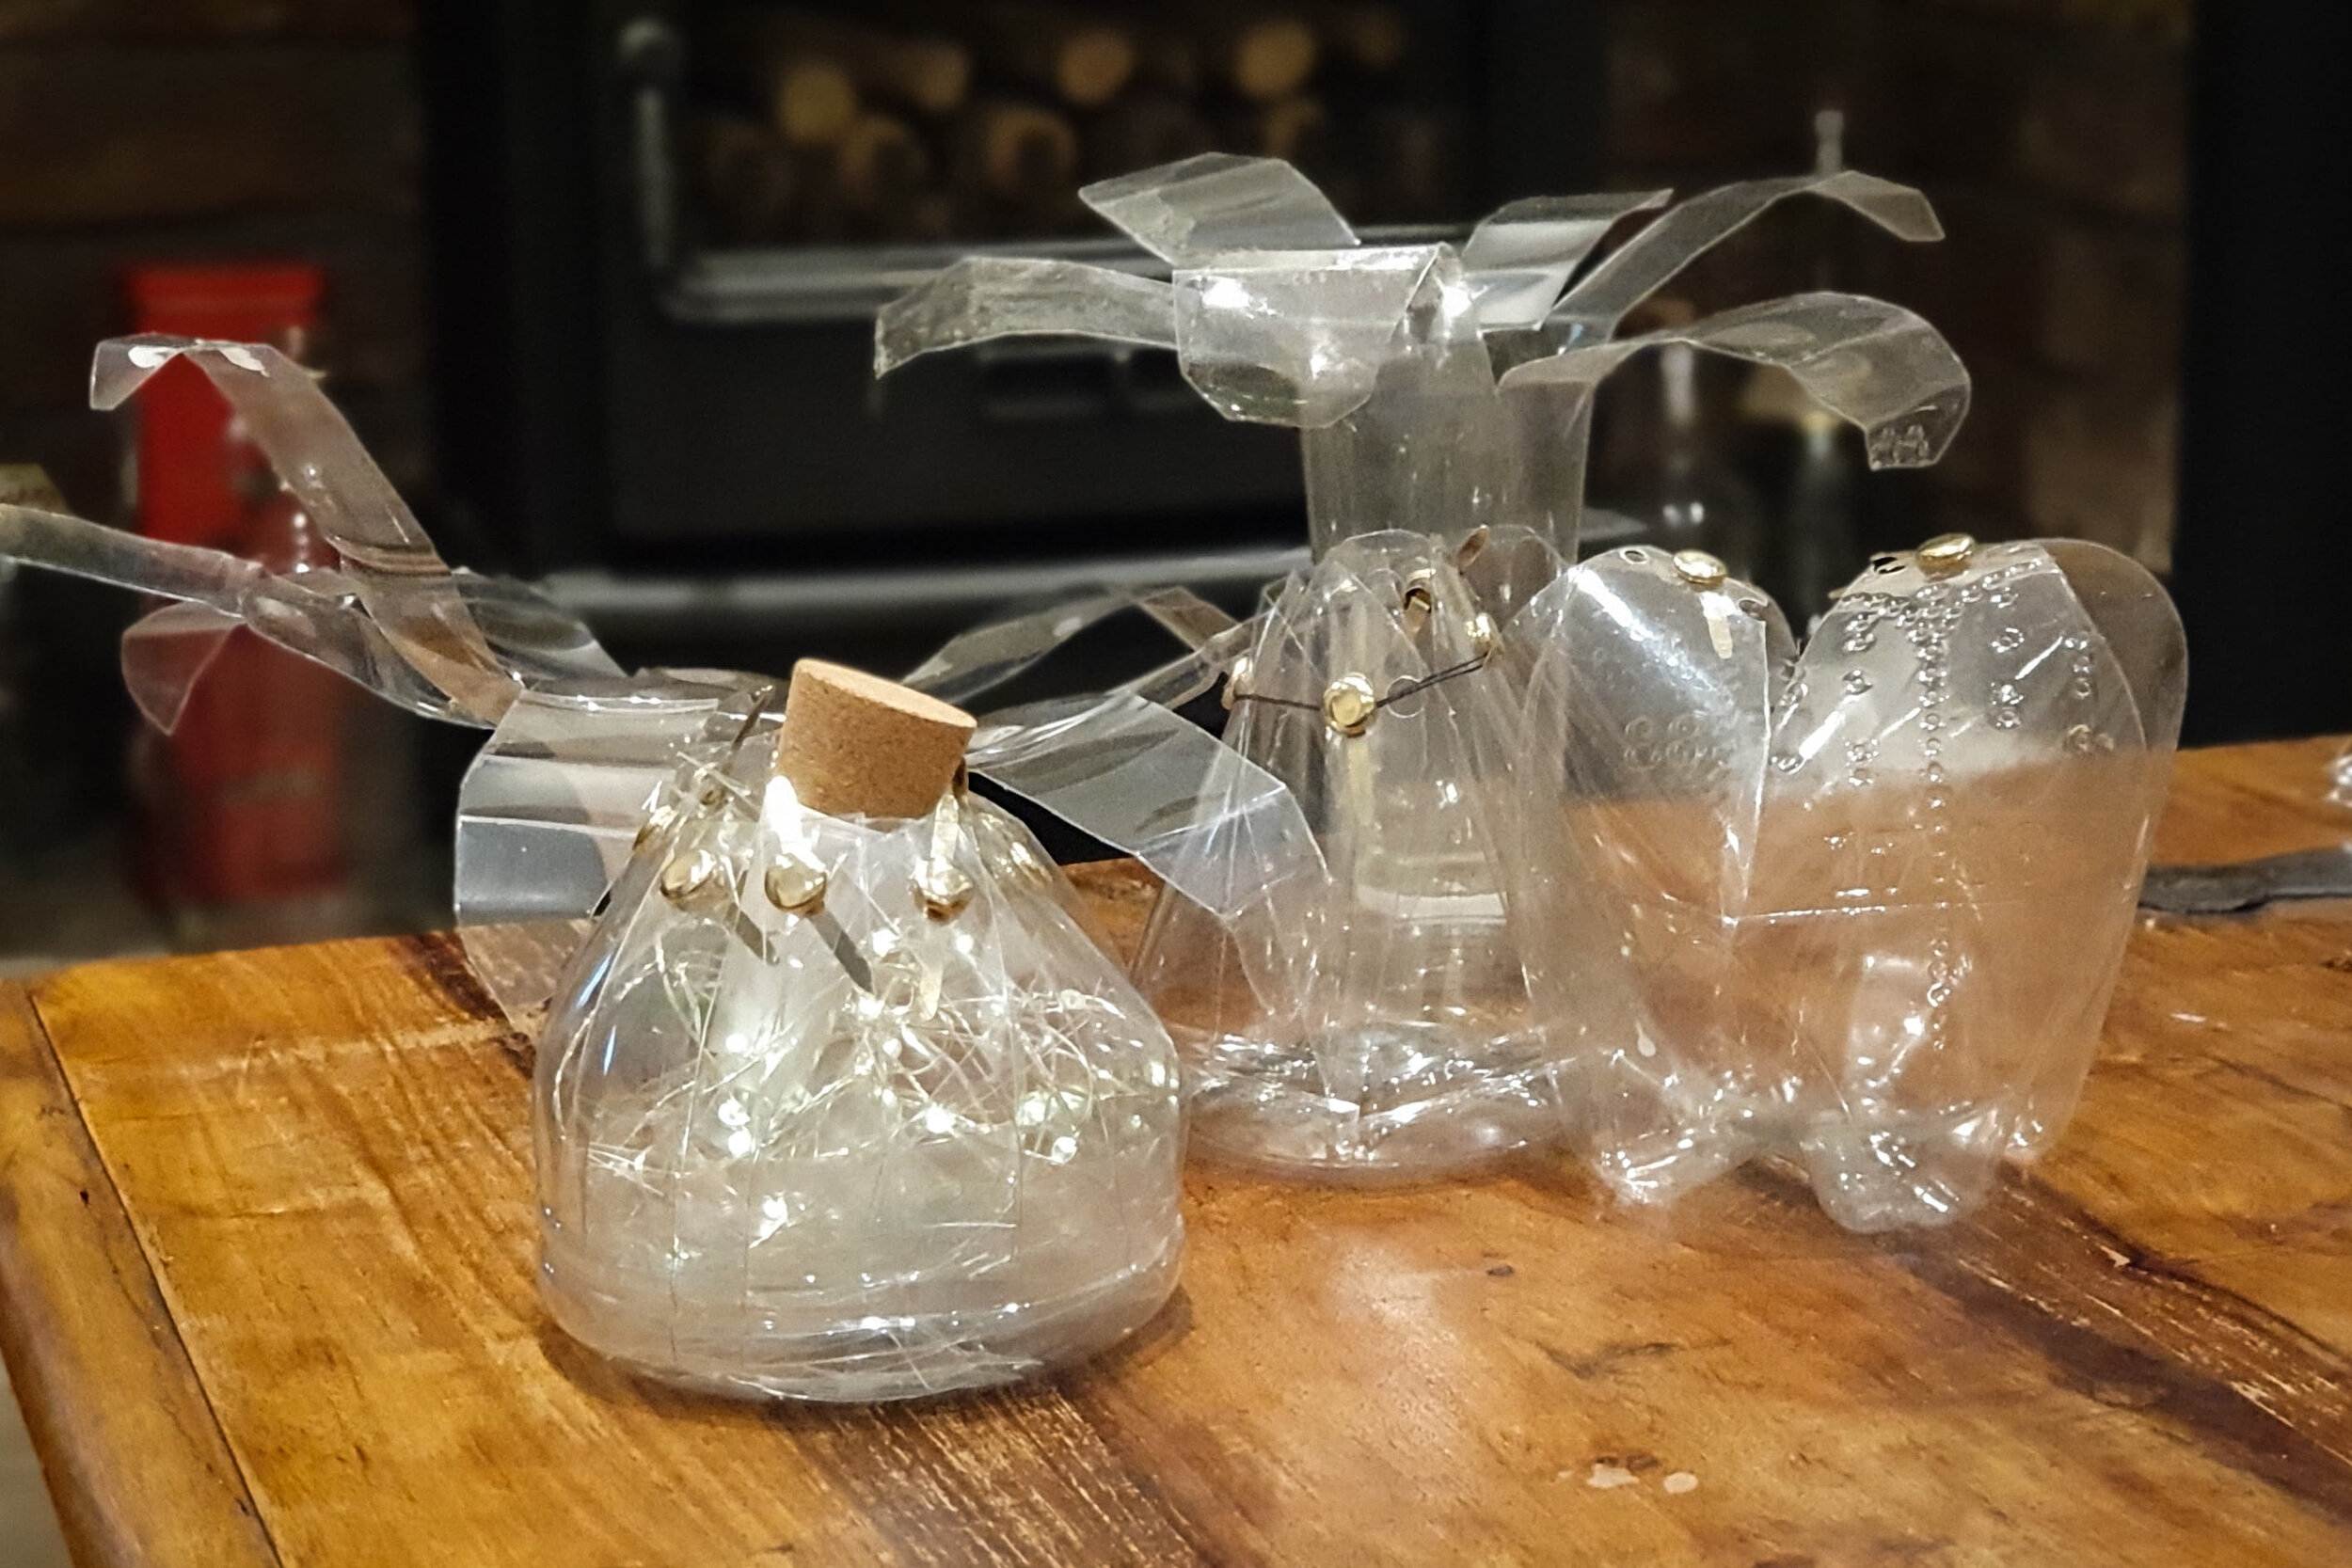
Taking the bottom half, make a vertical incision towards the base, turn to the opposite side, cut down again creating 2 segments. You may find a vertical line down the bottle that you can follow. Gauge the middle between the 2 segments and cut in half again so that you are left with 4 pieces.
Mark the middle of each segment using a dot 1 cm from the top edge. It can help to roll the segments to find the middle.

So now we’re gonna cut each segment into triangles with a little flat bit on the top
From the top edge cut all the way down to the end of your vertical line on each side creating a triangular shape, leaving about a 1 centimetre straight edge at the top. You should be left with 4 petal shapes

Get your hole punch and punch through the dot.

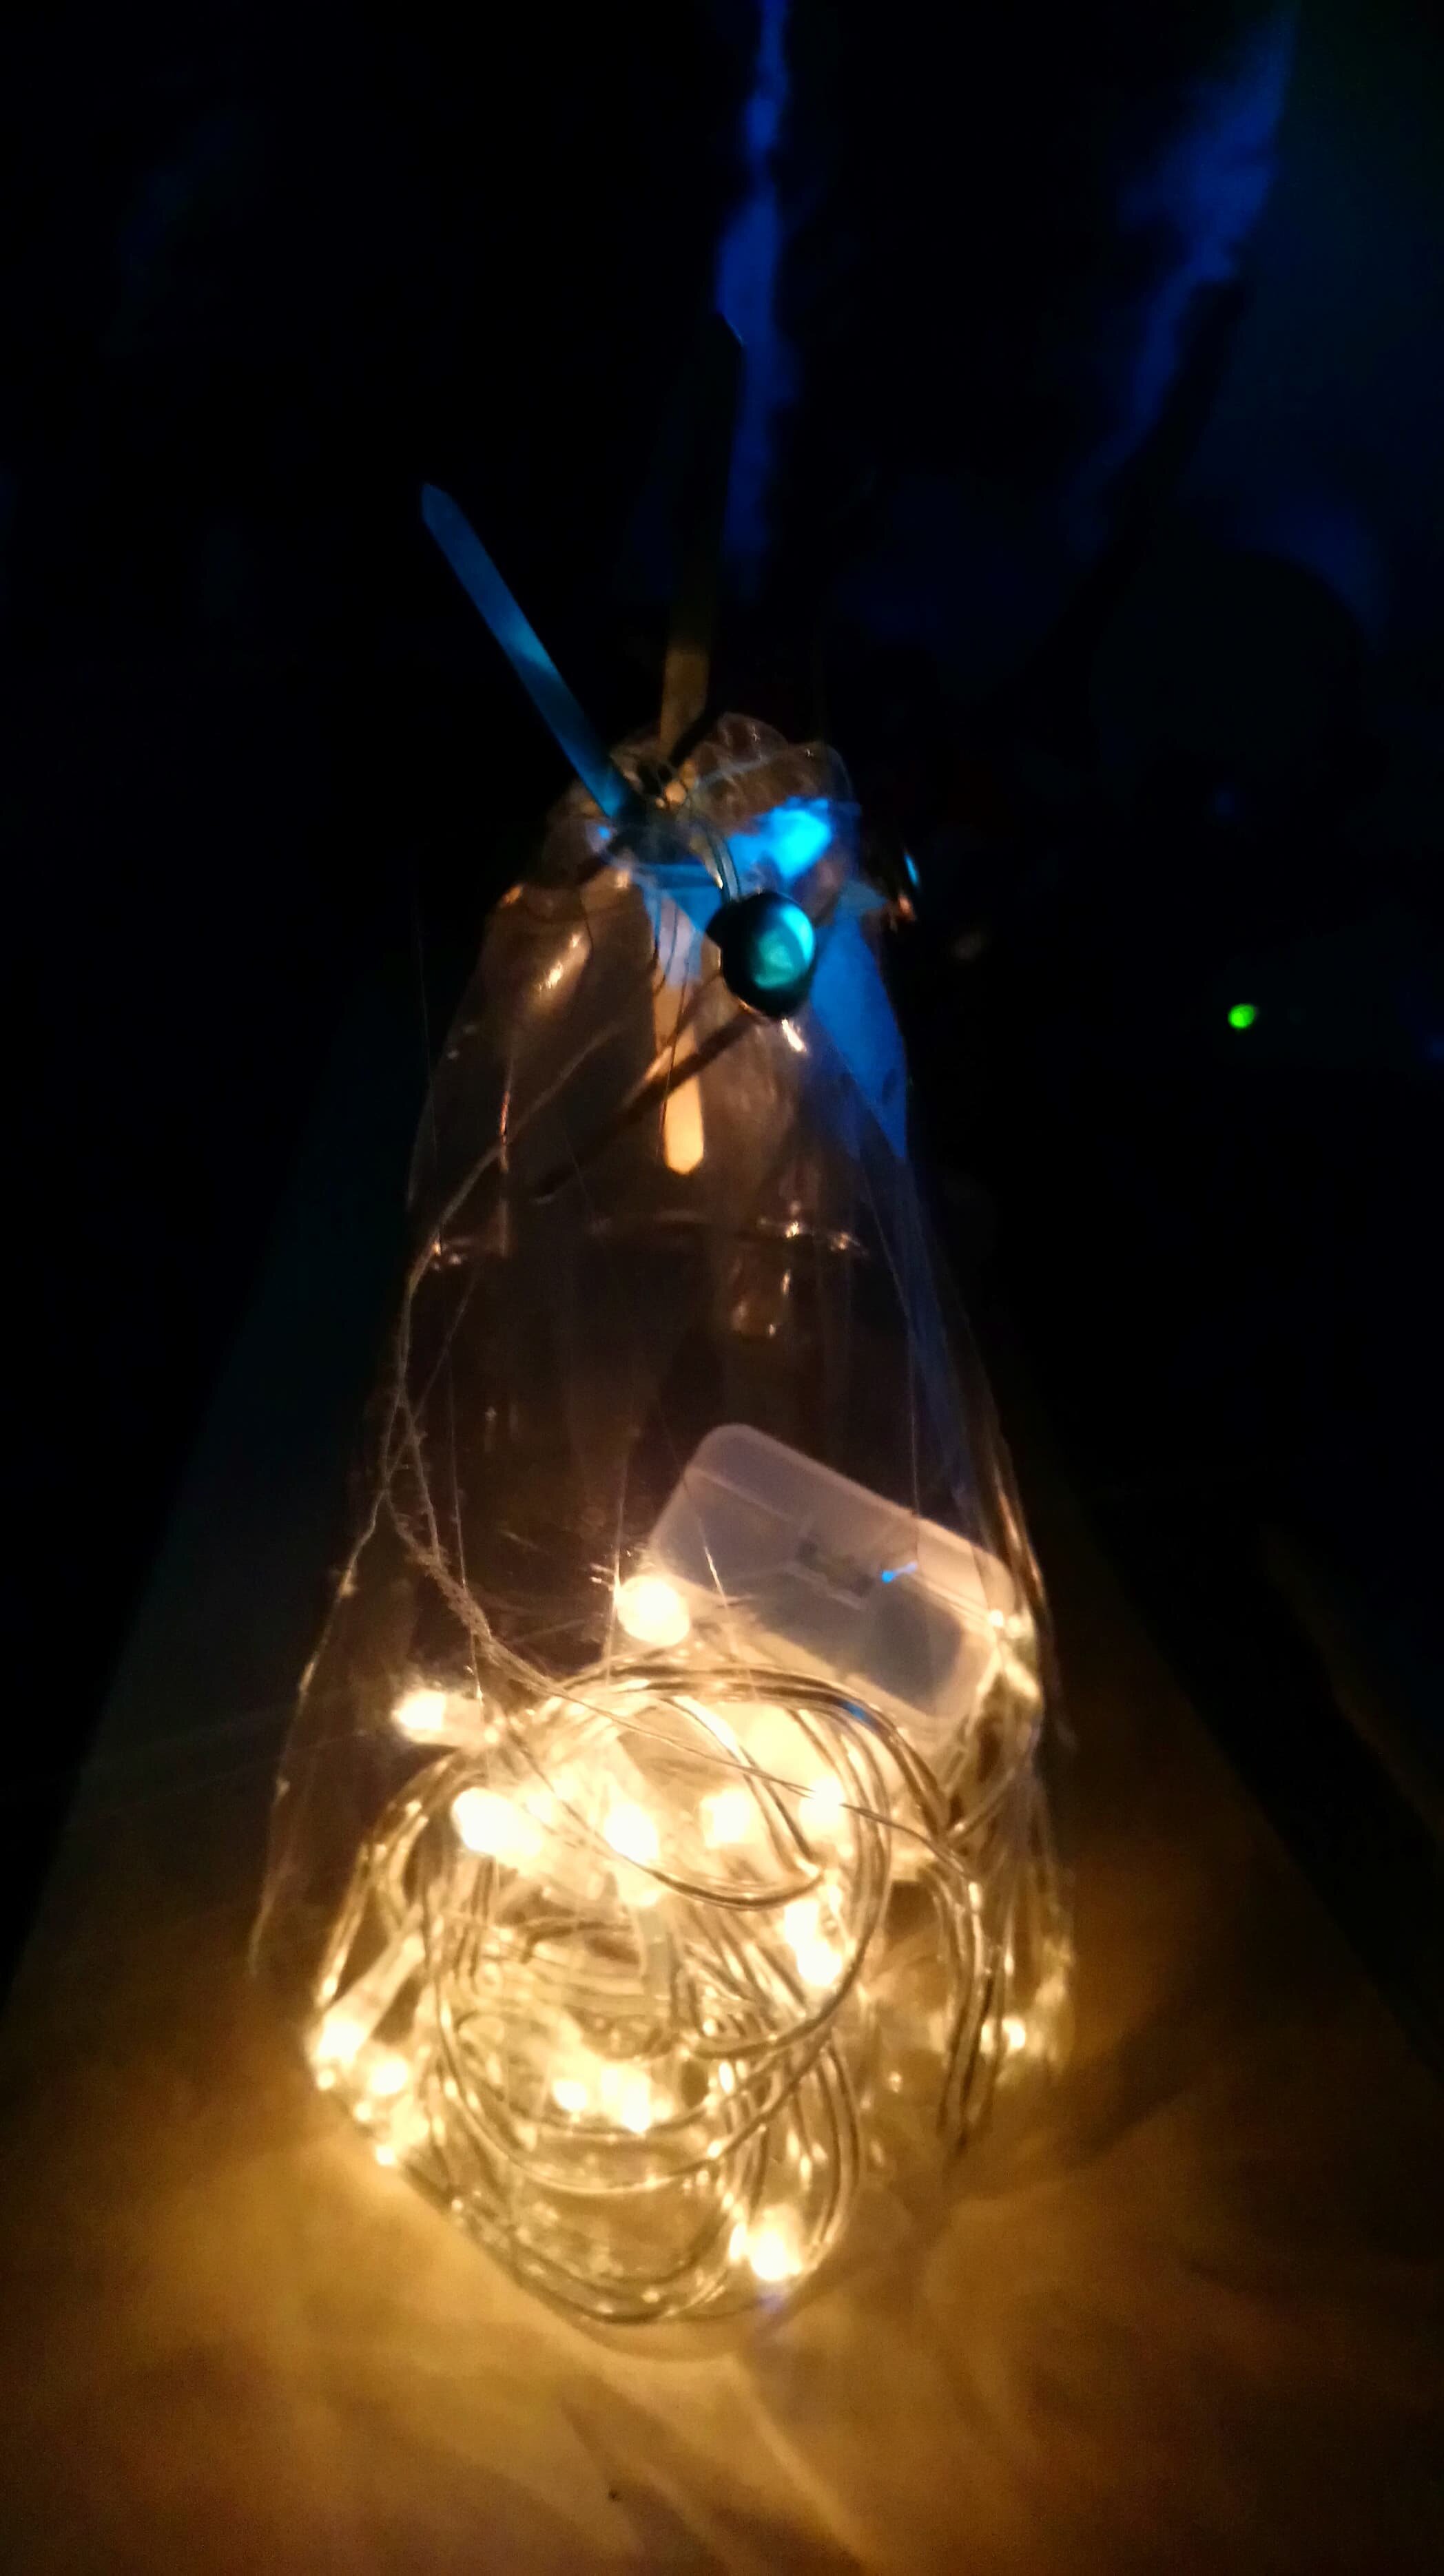
Place small LED lights inside.
Put your split pins/paper fasteners through each of the other holes in turn so that they all fold over and come together in the middle. With your split pin pointing downwards through the top.
You can crease on the curves to create a squared box shape.
2nd Repeat (Neck Half)
You can repeat this for your top bottle neck.
Hang it with string wrapped round the split pin or make a loop with the thread you have used.
Threaded version:
If you have string or thread, double it over (1) put the open ends through one of the holes, keeping the loop end on one side(2) slip the ends through this loop and tighten, then thread the string through each of the holes in turn (3)

1

2

3
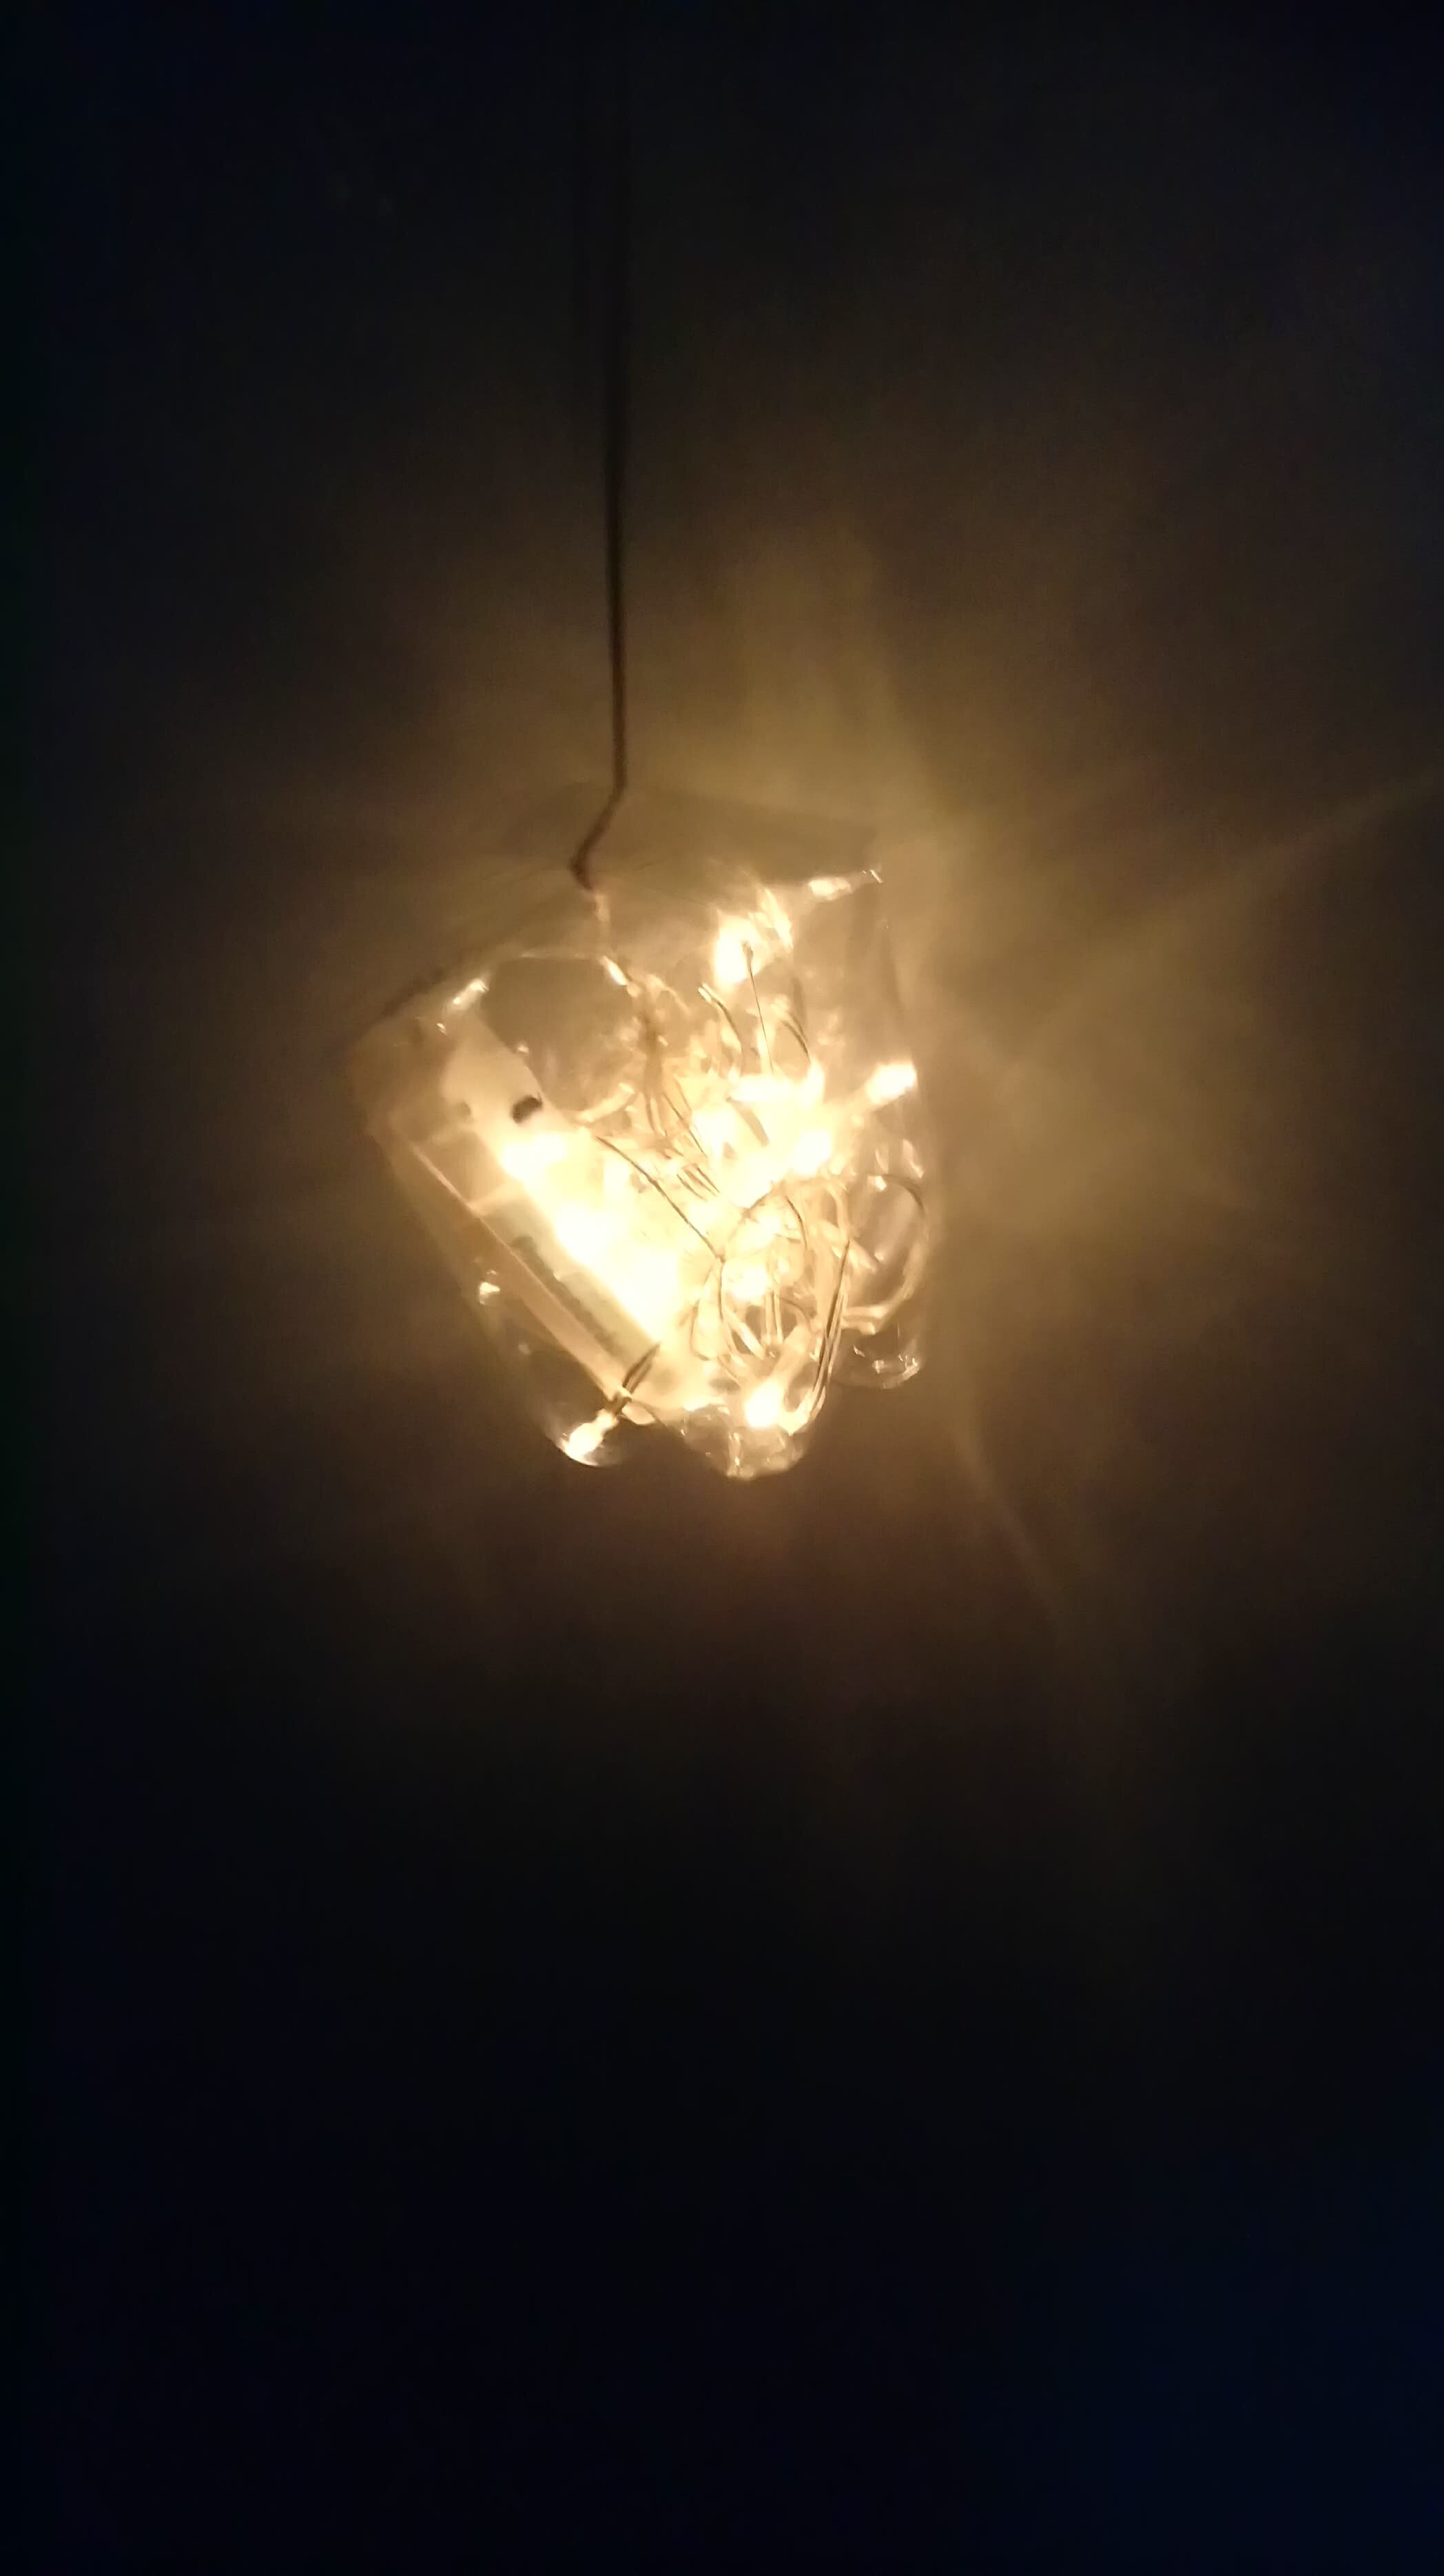
Final Result - Gayle Lofthouse at BBC Radio Leeds :


Useful Links: